The golden hour
is something you have to be familiarized with. It's those precious
hours where the sun is rising and setting. This is the best time to go
out there with your camera and shoot some beautiful photos. Bring a
tripod if you have one, it's really essential cause the sun isn't very
bright at that time of day. Image stabilization will be able to help you
out if you don't have a tripod. I would still recommend buying one even
if it's cheap like mine (24$). Sure it's not as sturdy or as handy as
those with better build quality but in a lot of cases it will do just
fine. It beats having to have to hold your camera and capture that
amazing moment... blurry.
When does the golden hour occur where you live? I've used this website Golden-hour.com
when I've needed to know exactly when it starts and ends. Below the map
you can see the way the sun rises and sets over the day. If you move
your mouse cursor over the golden boxes you see a small box that details
when the sun rises and when it's measured at sea level and vice versa
when sun is setting. It also gives you the angle of the sun and that
probably helps if you're smart enough to put those numbers to use...
Let's just say that in that case I like the element of surprise.
A good extra for this type of photography would be a ND graduated filter. That allows you to let more light in to lit up the landscape without overexposing the sky.
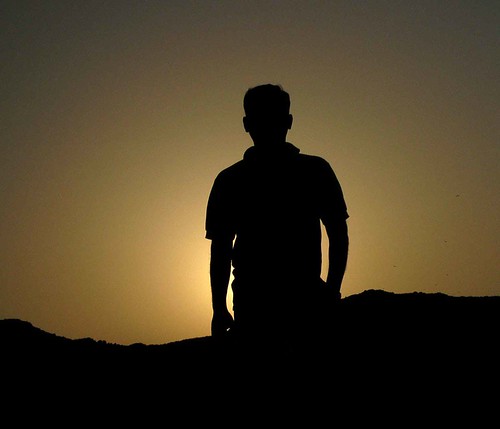
Shooting silhouette
is something that works really well with this time of day. Sometimes
that can be a good alternative option if you're not able to light up the
ground perfectly.
Try going down by the ocean and do some long exposure shots.
Just take note of the clouds, are they moving fast? Blurry clouds can
sometimes ruin a good shot. Go for a bigger aperture or increase ISO if
possible instead. We love details and forms we recognize, blurry clouds
can come of as unpleasant to us. I'm not talking about just a little
blur, more like when one cloud is moving faster then the others and has
therefor lost all structure and detail and kinda looks like a white
smudge on your photo.
Remember the rule of thirds... as a guideline not a rule. For instance
look at the scenery, which one is more interesting for the shot, the sky
or the landscape? If the only action in the sky is the sun setting or
rising then just give the sky the one third of the frame. If there are
beautiful clouds that amazingly lit up the entire or big part of the sky
then the sky should perhaps get the two thirds.
Bring a flashlight, maybe you'll be able to leave the shutter open for a
couple of seconds (if you need more time you could use a ND filter,
like a 10 stop filter). That way you can paint in some details if there
are shadows or dark areas in your shot that you want to get rid of. Just
remember to flicker the light constantly so that everything will be
evenly lit up.
Check this video out with Karl Taylor, it's about lighting and he dives a
little bit into what I've been talking about in this post. He also
explains soft light and hard light and how to use a reflector. And I've
talked about this before but if you go to his website (under the links
tab here) then you can sign up for a free photography course for
beginners over there. He's a great teacher and I encourage you to sign
up.
from: http://firststepsphotography.blogspot.com/
Minggu, 19 Februari 2012
Langganan:
Posting Komentar (Atom)
 RSS Feed
 Twitter
 Facebook
0 komentar:
Posting Komentar